


Defend Your Home...
Your house goes through so much throughout the seasons, it’s...

We know that approaching any sort of home improvement task can be daunting. So when itcomes to your front door, we’re determined to bring you a five-star experience and make it surprisingly simple. Our customer reviews...
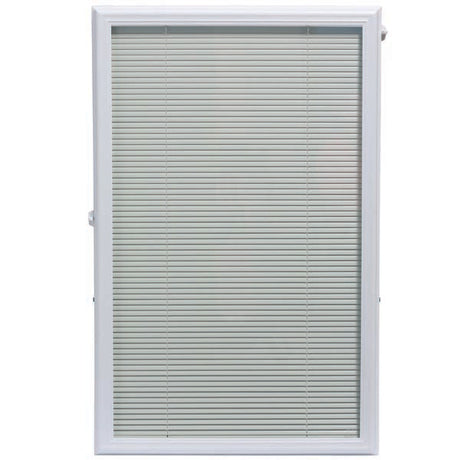

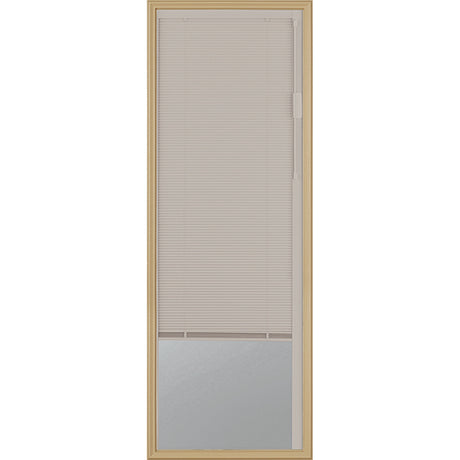
ODL Add On Blinds for Raised Frame Doors - 24" x 38"

ODL Add On Blinds for Raised Frame Doors - 24" x 66"


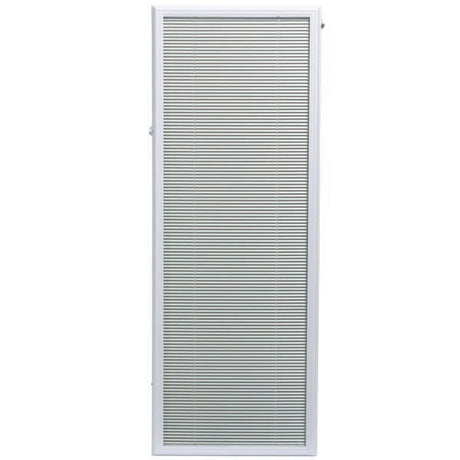
ODL Add On Blinds for Raised Frame Doors - 9" x 66"

ODL Add On Blinds for Raised Frame Doors - 22" x 66"
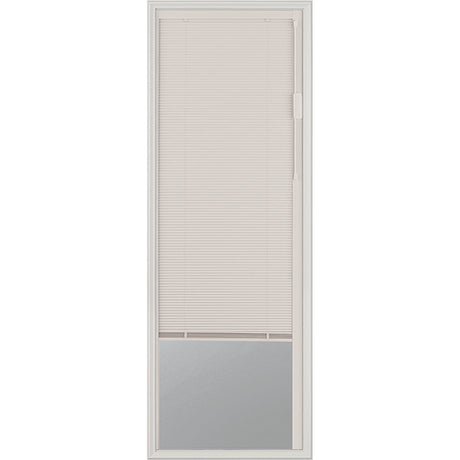

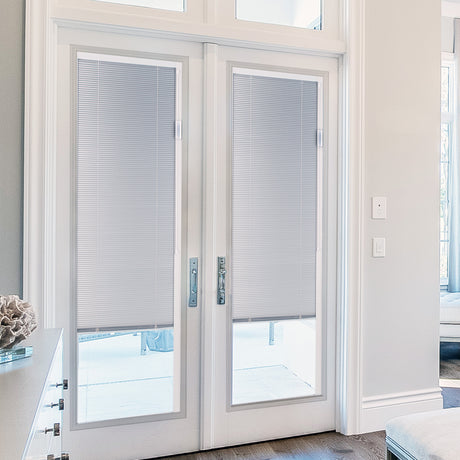
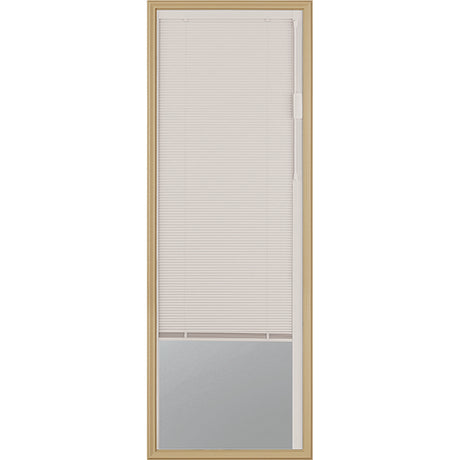
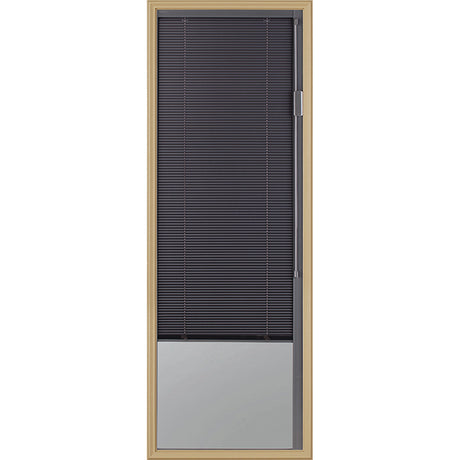
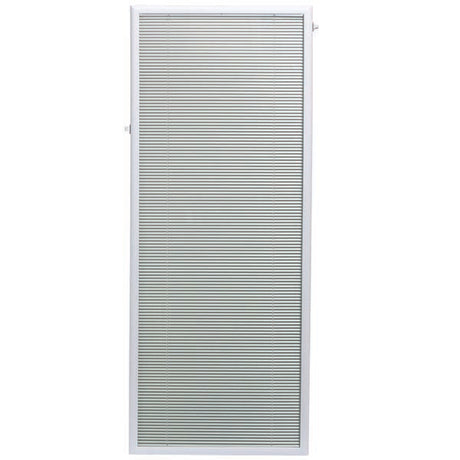
Blink Enclosed Blinds - 24" x 66" Frame Kit

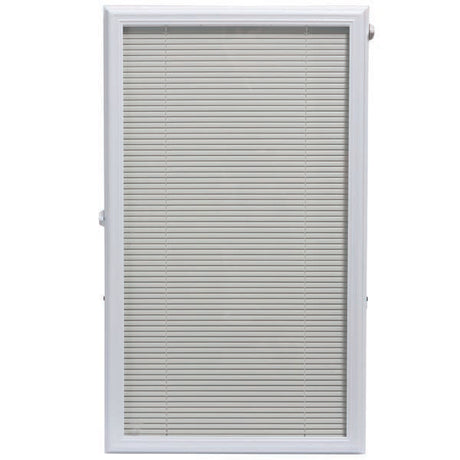

ODL Add On Blinds for Raised Frame Doors - 22" x 38"

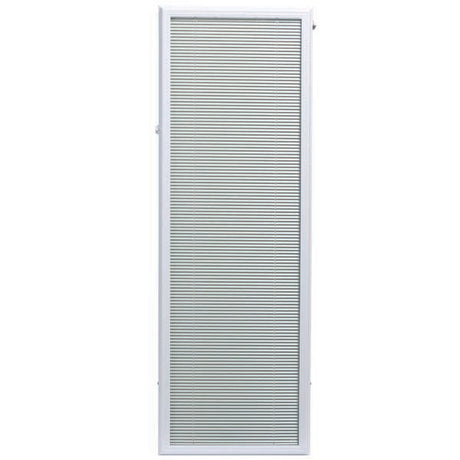
ODL Add On Blinds for Flush Frame Doors - 25" x 66"
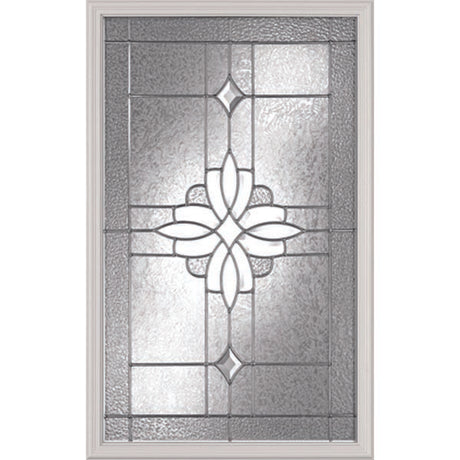
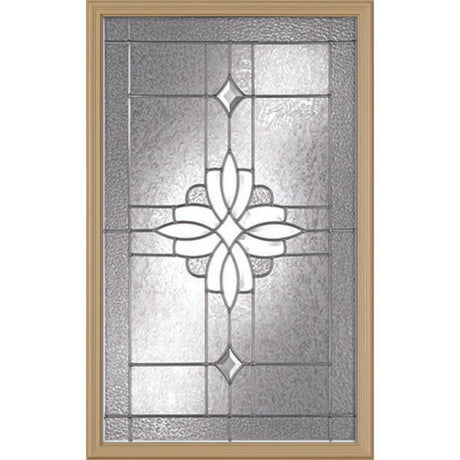
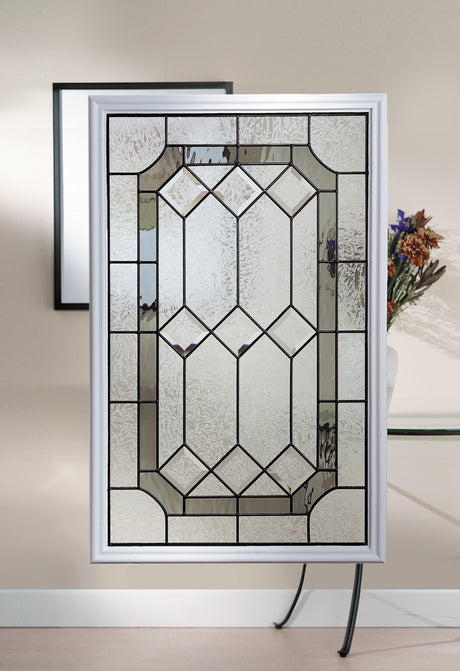
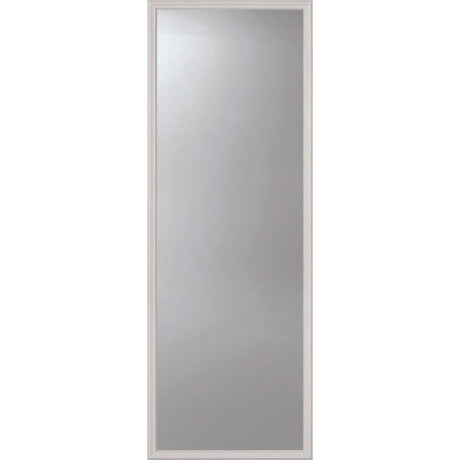
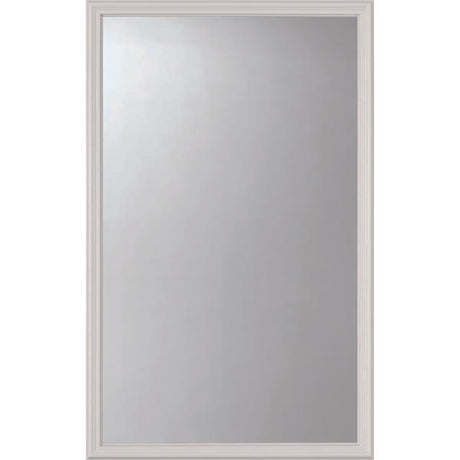
Western Reflections Laurel Door Glass - 24" x 38" Frame Kit
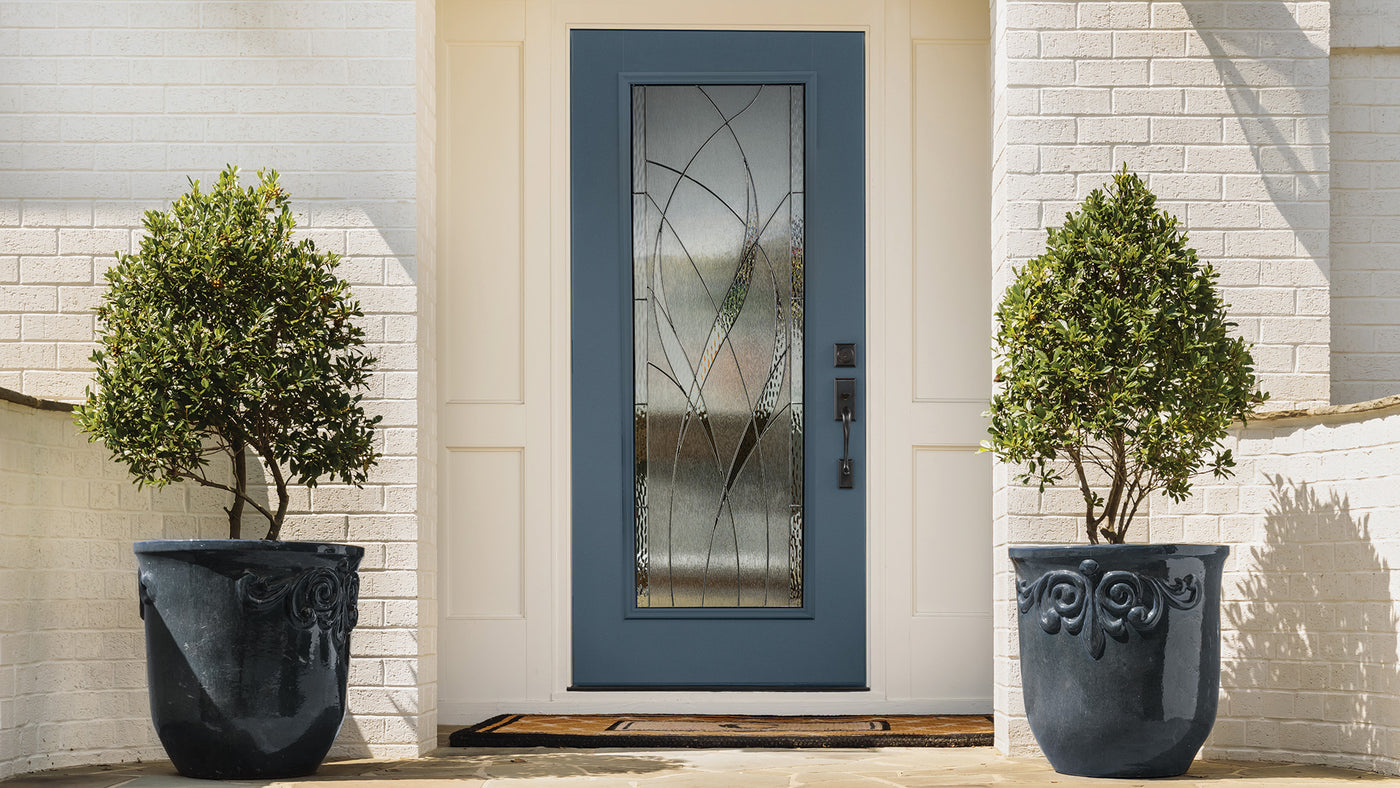
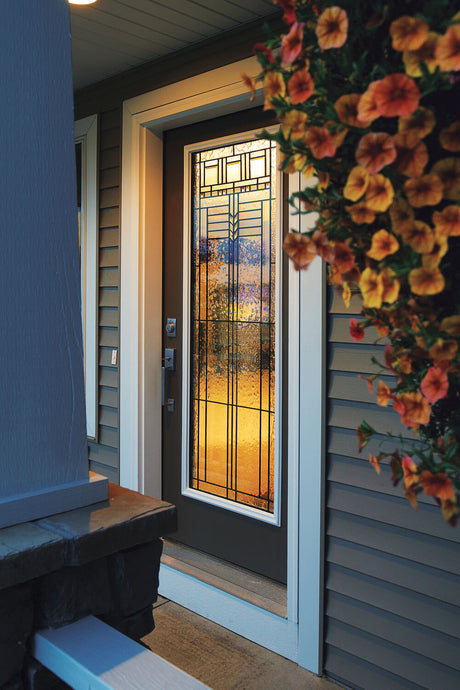
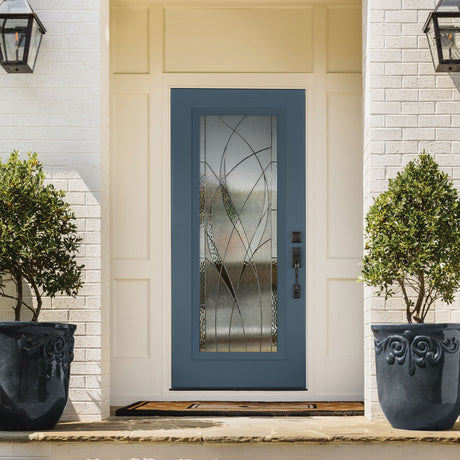
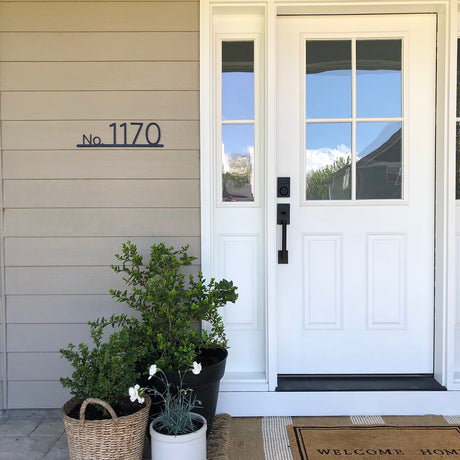
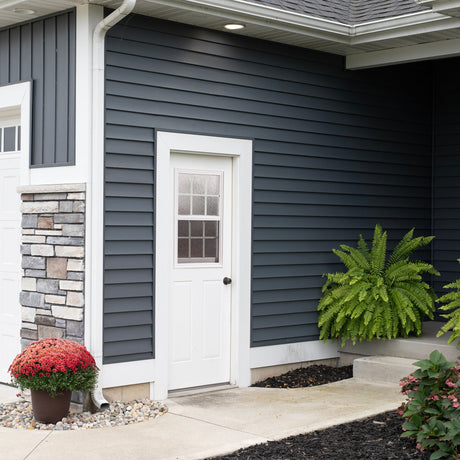
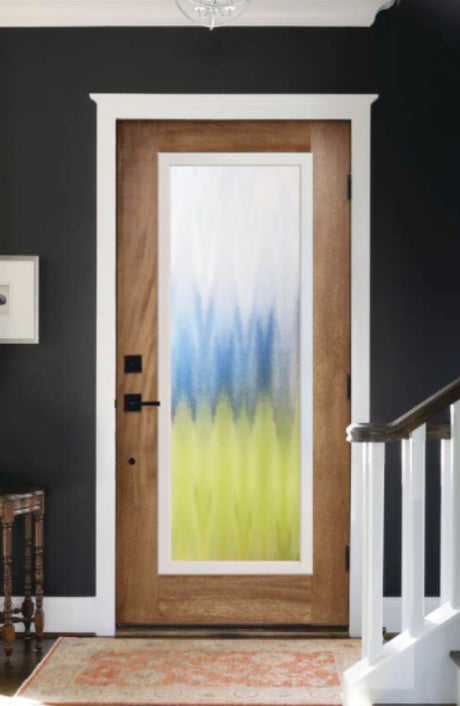
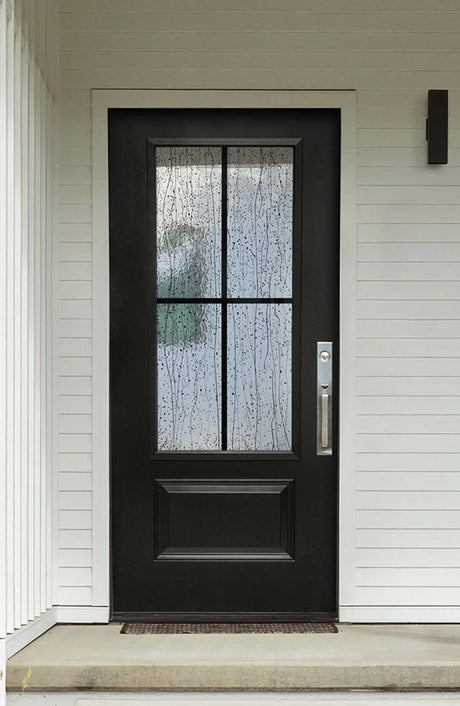
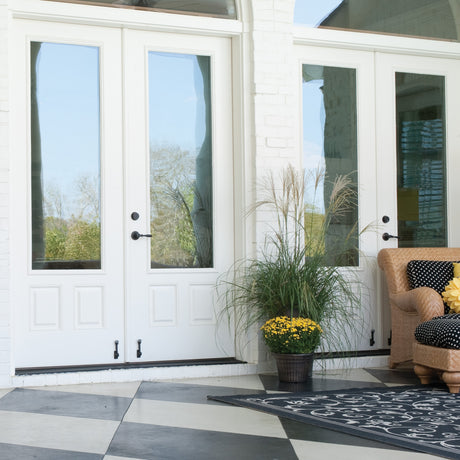
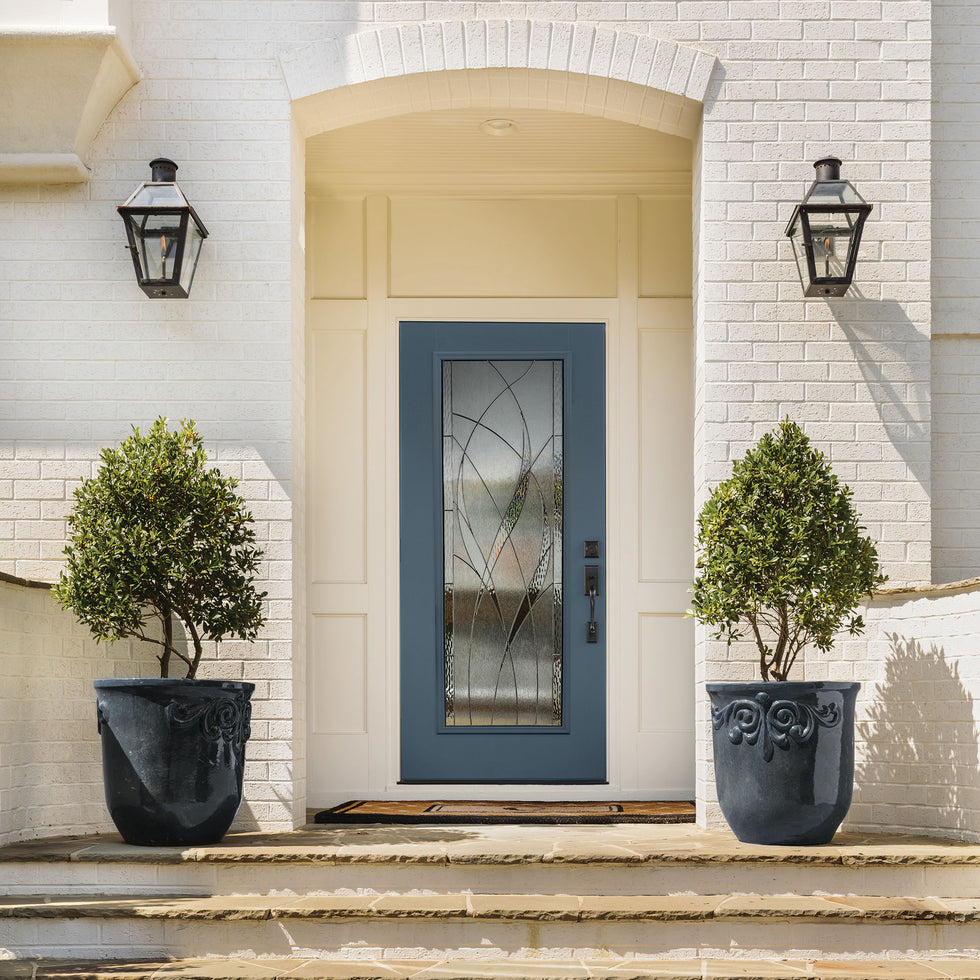
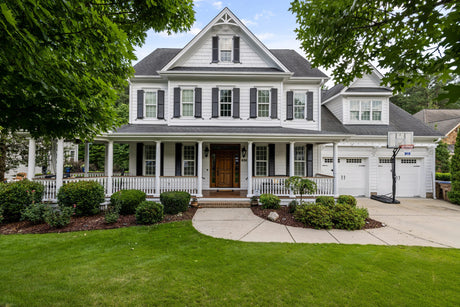
See how real homeowners are enhancing their entryways with decorative door glass inserts.
Your house goes through so much throughout the seasons, it’s...
7 Popular Home Architectural Styles and Door Styles to choose...

Check out these creative tips before purchasing your next house.
The housing market can be stressful at times, but these...